So it seemed like a good idea at the time.... I had all these t-shirts I wasn't wearing, but for some reason could not being myself to throw them away. One was my High School Senior Class shirt. Which literally has not been on my body since then. A lot were from college, with sorority every event having a shirt to go with it, my collection grew exponentially. Albeit I gave several away to underclassmen like hand me downs, I still had about 10 or so. The others were just randoms that I got either on a vacation or fun trip with friends. They all had a story, which is why I had a heard time parting with some of them.

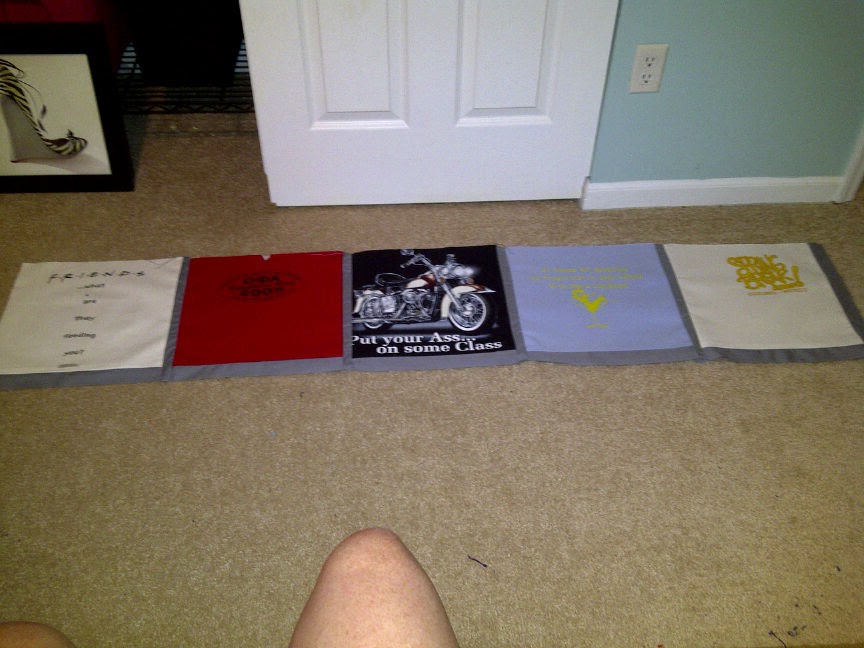
So it was my Mom's idea to turn them into a blanket. This sounded like a great idea, and it would free up some closet space. Win win. It started out innocent enough. I'd made quilts before, but never with a stretch cotton. So, I researched it on-line to find the best way to do it. I got all the shirt I wanted to use together, I needed 30 squares to make the size I wanted, so that amounted to about 18 shirts (some I used the front and backs of). Once I decided how big to make the squares, the cutting went super quick (if you don't have a rotary cutter, go get one for this, its magical how easy it is). I ended up making them 14' tall by 15' wide. This was to accommodate the images on some of the shirts. I wanted all my blocks to be the same size, but you can totally cut different sizes and piece them together like a puzzle. This just wasn't what I wanted to do. I'd also cut 2 inch strips of a neutral border fabric that I planned to attach on the bottom and right sides of the squares (the strips would come together when i started to sew the blocks together). In hindsight, I wish my border strips were wider, but these worked.


From my research It was pretty clear I'd have to get a soft interfacing in order to keep the shirt from stretching when i sewed it. This might have been the most tedious part. I then sat and ironed all 30 squares with the interfacing. BBBOOOORRRRIIIIINNNNGGGG. It took me three nights to do it. make sure all the squares were straight and nothing wrinkly, nothing was burning in the ironing process, etc. After that super exciting part was done, I sewed my border strips on the bottom part of the shirt square. I sewed on a half inch seam to make it stronger. The last quilt I made i used a 1/4 in seam and it eventually fell apart without much use. I wanted to be able to use this quilt on a regular basis. This eventually made the border strips only 1' wide all around the square. Which is fine, I just liked the wider stripe look better. Just my personal opinion. After all the bottom pieces were sewn, I pressed the seams open, and did the same after the right sides were done. That again was tedious. Ironing is lame :).


Now all I had to do was start sewing the blocks together. This went pretty quick actually. I just had to make sure the colors were spaced properly. I didn't want like 4 white blocks or two green one right next to each other. I made the quilt 5x6 (blocks I mean). I did all the horizontal rows first, then came back and attached each row onto each other. If you're planning on doing this: PIN THE ROWS BEFORE SEWING. You don't really need to pin anything before this point, it'll trim away. I admit, I tried to do it without pinning the rows and ended up getting off alignment and my border strips didn't align properly. So seam ripper to the rescue, and start over. Once I did that little extra step of pinning, everything flew by. Next thing I know, I have a front to my quilt.


I picked a soft flannel plaid fabric for the backing and a medium weight batting to make it extra snugly. I added an additional border around the outside of the front of the quilt in the plaid flannel to make it feel like it matches. In order to put it all together, I laid the front face up, then pinned the backing on top of it, followed by the batting. Sew it all around leaving about a foot open on one side. This is so you can turn it right side out. Then you just hand sew up the hole you turned it through. I also tacked down the three layers in order to keep it from getting all matted when I use and wash it. I did this with just a few stitches at each of the corners of the blocks in the seams. I did it this way so you cant see the stitches from the front. After all that's done, I washed it just to get rid of excess strings and to fluff up the interfacing a little. And Viola, a brand new planket that no-one else has! It was definitely a labor of love, but I really am happy with the result of it. Although, I probably won't be trying to make another one any time soon :)


No comments:
Post a Comment